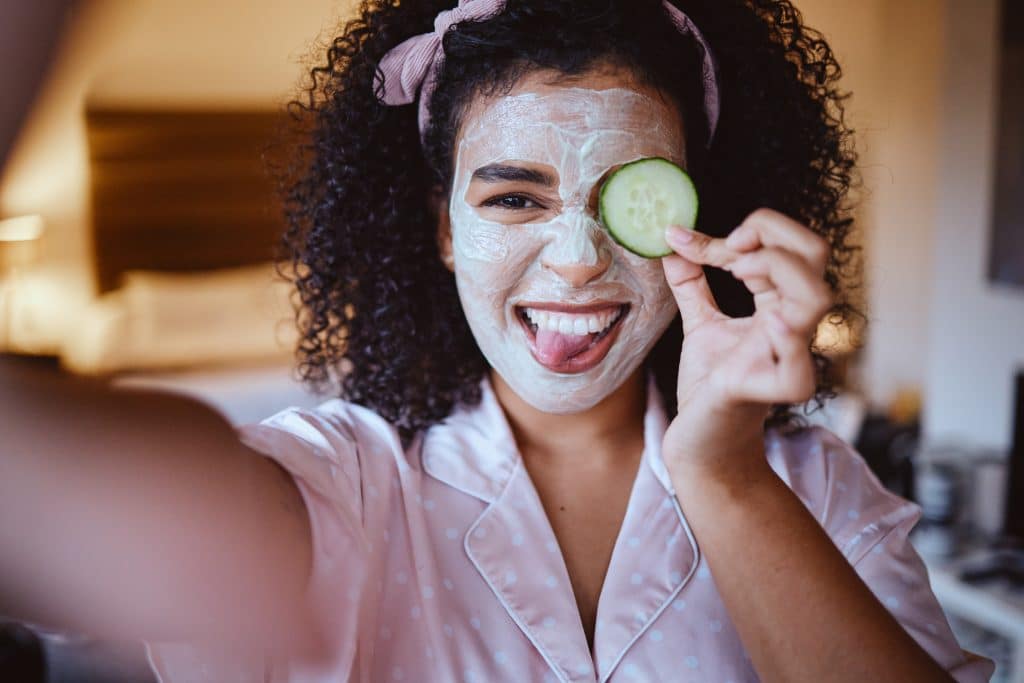
DIY face masks: 3 easy recipes you can make at home

DIY face masks offer a natural and affordable way to enhance your skincare routine, using simple ingredients readily available at home to address various skin concerns.
Looking for a fun and effective way to pamper your skin without breaking the bank? Discover three simple DIY face mask recipes using ingredients you probably already have in your kitchen!
Unlocking your skin’s potential: The magic of DIY face masks
In a world flooded with expensive skincare products, the charm and effectiveness of DIY face masks often get overlooked. These homemade concoctions not only offer a budget-friendly alternative but also provide a tailored approach to addressing your specific skin concerns.
By harnessing the power of natural ingredients found right in your kitchen, you can create potent treatments that rejuvenate, hydrate, and clarify your complexion.
Let’s explore the benefits of embracing the DIY route and uncover why more people are turning to homemade face masks for their skincare needs.
Why choose DIY face masks?
DIY face masks offer many benefits that appeal to skincare enthusiasts. One major advantage is the use of natural ingredients, allowing you to avoid harmful chemicals and synthetic additives.
They are also cost-effective, saving money compared to store-bought options, and highly customizable to target specific skin concerns like dryness, acne, or dullness.
Additionally, homemade masks are environmentally friendly, reducing packaging waste and supporting a more sustainable lifestyle.

Understanding your skin type
Before diving into recipes, it’s essential to understand your skin type. Knowing whether you have dry, oily, combination, or sensitive skin will help you choose the most effective ingredients for your DIY face masks. Here’s a quick guide:
- Dry skin: Characterized by flakiness, tightness, and a lack of moisture. Look for hydrating ingredients like honey, avocado, and yogurt.
- Oily skin: Prone to shine, enlarged pores, and breakouts. Opt for ingredients that absorb excess oil, such as clay, lemon juice, and oatmeal.
- Combination skin: Features both dry and oily areas, typically an oily T-zone (forehead, nose, and chin) and dry cheeks. Use a balanced approach with ingredients that target both concerns.
- Sensitive skin: Easily irritated and prone to redness. Choose gentle, soothing ingredients like aloe vera, chamomile, and oatmeal.
Ultimately, using DIY face masks can be a fun and rewarding experience if you take the time to assess your unique skin needs and choose ingredients that cater to them.
Whether you’re looking to hydrate dry skin, combat excess oil, or soothe sensitivity, there’s a homemade recipe out there for you.
Recipe 1: The hydrating honey and avocado mask
Dry skin? Meet your new best friend! This DIY face mask is packed with moisturizing and nourishing ingredients that will leave your skin feeling soft, supple, and radiant.
Honey and avocado are both renowned for their hydrating properties, making this mask a powerhouse for combating dryness and restoring your skin’s natural glow. Ready to whip up this simple yet effective recipe?
Ingredients you’ll need
- 1/2 ripe avocado
- 1 tablespoon honey
- 1 teaspoon olive oil (optional, for extra hydration)
Step-by-step instructions
- In a small bowl, mash the avocado until it’s smooth and creamy.
- Add the honey and olive oil (if using) to the mashed avocado.
- Mix all the ingredients together until you have a well-combined paste.
- Apply the mask evenly to clean, dry skin, avoiding the eye area.
- Leave the mask on for 15-20 minutes, allowing the ingredients to penetrate your skin.
- Rinse off with warm water and pat your skin dry with a soft towel.
This mask is perfect for those with dry, dehydrated skin in need of a boost of hydration and nourishment. The honey helps to lock in moisture, while the avocado provides essential fatty acids and vitamins that promote a healthy, radiant complexion. Use this mask once or twice a week for best results.
Recipe 2: The clarifying lemon and oatmeal mask
Oily skin can be tough to manage, but this DIY face mask is here to help. Combining the oil-absorbing properties of oatmeal with the clarifying benefits of lemon, this mask will leave your skin feeling clean, refreshed, and balanced.
Lemon and oatmeal work together to absorb excess oil, gently exfoliate, and reduce the appearance of pores, making this mask a go-to for those with oily and acne-prone skin. Let’s get started!
Ingredients you’ll need
- 2 tablespoons ground oatmeal
- 1 tablespoon lemon juice
- 1 tablespoon water (or enough to form a paste)
Step-by-step instructions
- In a small bowl, combine the ground oatmeal and lemon juice.
- Add water gradually, mixing until you have a smooth paste.
- Apply the mask evenly to clean, dry skin, avoiding the eye area.
- Leave the mask on for 10-15 minutes, allowing it to dry slightly.
- Rinse off with warm water, gently massaging your skin in a circular motion to exfoliate.
- Pat your skin dry with a soft towel.

This mask is ideal for those with oily or acne-prone skin looking to control excess oil, minimize pores, and achieve a clearer complexion. The lemon juice acts as a natural astringent, while the oatmeal gently exfoliates and soothes the skin.
Use this mask once or twice a week for best results.
Recipe 3: The soothing yogurt and cucumber mask
Sensitive skin requires a gentle touch, and this DIY face mask offers just that. Combining the cooling and calming properties of cucumber with the probiotic benefits of yogurt, this mask will soothe irritation, reduce redness, and leave your skin feeling refreshed and balanced.
Yogurt and cucumber are both known for their anti-inflammatory and hydrating properties, making this mask a perfect remedy for sensitive, easily irritated skin. Here’s how to make it:
Ingredients you’ll need
- 2 tablespoons plain yogurt (Greek or regular)
- 1/4 cucumber, peeled and pureed
- 1 teaspoon honey (optional, for extra soothing)
Step-by-step instructions
- In a small bowl, mix together the plain yogurt and pureed cucumber.
- Add honey (if using) and stir until well combined.
- Apply the mask evenly to clean, dry skin, avoiding the eye area.
- Leave the mask on for 15-20 minutes, allowing it to soothe and hydrate.
- Rinse off with cool water and pat your skin dry with a soft towel.
This mask is excellent for those with sensitive or easily irritated skin in need of gentle hydration and calming relief. The yogurt provides probiotics that can help balance the skin’s natural flora, while the cucumber soothes inflammation and reduces redness.
Use this mask as often as needed to soothe and refresh your skin.
Tips for maximizing your DIY face mask experience
Creating your own DIY face masks can be a fun and rewarding experience, but there are a few tips to keep in mind to ensure you get the most out of your at-home spa sessions.
Follow these guidelines to maximize the benefits and minimize any potential risks. Consider these suggestions as a final layer of refinement to make sure your skincare rituals are not only effective but also safe and enjoyable.
By adhering to these practices, you’ll not only enhance the efficacy of your DIY face masks but also ensure a safe and enjoyable experience that leads to healthier, more radiant skin.
Always do a patch test
Before applying any DIY face mask to your face, it’s essential to perform a patch test to identify potential allergic reactions or sensitivities.
Apply a small amount of the mask to a discreet area, like your inner arm or behind your ear, and wait 24-48 hours to check for redness, itching, or irritation.
If any adverse reactions occur, stop using the mask immediately and wash the area thoroughly to prevent further irritation.
Use fresh, high-quality ingredients
The quality of your ingredients greatly affects the effectiveness of your DIY face mask, so choosing fresh, organic options is best for your skin.
Select ripe fruits and vegetables without blemishes, use raw, unfiltered honey for its antibacterial and moisturizing benefits, and store ingredients properly to keep them fresh and potent.
Apply with clean hands or a brush
To prevent bacteria from reaching your skin, always apply your DIY face mask with clean hands or a clean brush, washing your hands thoroughly before starting.
If you use a brush, ensure it’s meant for facial use and clean it regularly, and avoid scooping ingredients directly with your fingertips to prevent contamination.
Can I use DIY face masks every day?
Although DIY face masks provide many benefits, using them daily can cause irritation, dryness, or breakouts from over-exfoliating. Typically, applying a mask 1-3 times per week is enough, with frequency adjusted based on your skin’s needs and the mask type.
How long should I leave a DIY face mask on?
The ideal time to leave a DIY face mask on your skin varies with ingredients and skin type, generally between 10-20 minutes. Hydrating masks like honey and avocado can stay on up to 20 minutes, while clarifying masks like lemon and oatmeal should be left for 10-15 minutes to prevent over-drying.
Can I store leftover DIY face mask mixtures?
It’s best to prepare DIY face masks fresh each time to ensure the ingredients are at their most potent and free from contamination. However, if you have leftover mixture, you can store it in an airtight container in the refrigerator for up to 24 hours.
Here’s a summary of the key points from the article:
| Key Point | Brief Description |
|---|---|
| 🥑 Hydrating Mask | Honey and avocado mask for dry skin. |
| 🍋 Clarifying Mask | Lemon and oatmeal mask for oily skin. |
| 🥒 Soothing Mask | Yogurt and cucumber mask for sensitive skin. |
| 🧪 Patch Test | Always perform a patch test before applying any mask. |
FAQ
▼
DIY face masks can be effective for all skin types, but it’s essential to choose ingredients that are suitable for your specific skin type. For instance, oily skin benefits from clay-based masks, while dry skin thrives with hydrating ingredients like honey and avocado.
▼
DIY face masks can complement your skincare routine but are unlikely to entirely replace professional treatments. Professional treatments often involve advanced techniques and potent ingredients that aren’t available for home use.
▼
Exfoliating 1-3 times a week is generally recommended to remove dead skin cells and promote cell turnover. Over-exfoliating can lead to irritation, so it’s essential to adjust the frequency based on your skin’s tolerance.
▼
For sensitive skin, opt for gentle and soothing ingredients like aloe vera, chamomile, and cucumber. These ingredients have anti-inflammatory properties that can help calm irritation and redness.
▼
To ensure safety, always perform a patch test before applying the mask to your entire face. Use fresh, high-quality ingredients, and avoid using harsh chemicals or ingredients that could irritate your skin.
Embracing the world of DIY face masks can be a fun, affordable, and effective way to enhance your skincare routine. By using simple ingredients you likely already have at home, you can address a variety of skin concerns and achieve a healthy, radiant complexion.
Remember to always patch-test new recipes and adjust them to suit your individual skin needs for the best results.


